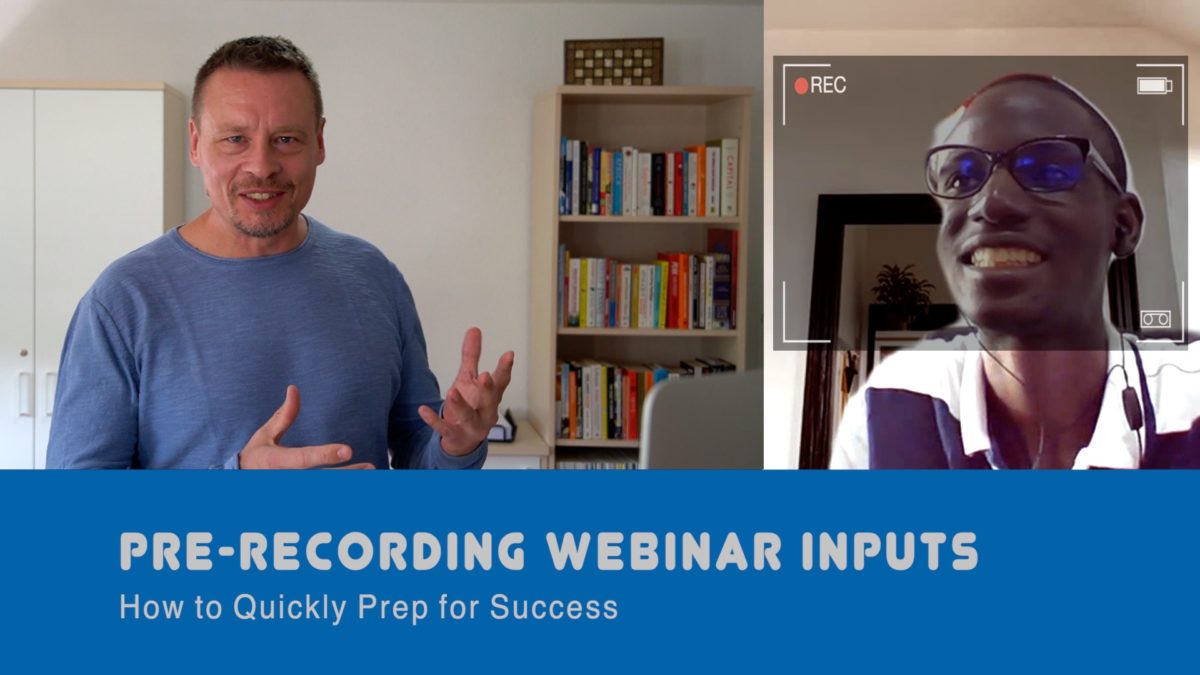
The organizers want to pre-record your input — so here’s what you do
More often lately, webinar organizers ask me to support them with pre-recording and editing the inputs of key participants — basically to ensure against connectivity and time management issues of online events. Something I have been recommending for a long time since both these types of issues are prevalent in online events of development cooperation.
Usually, the video of the input will be recorded at least a week before the event to allow for editing time, to react to wishes for change or rescheduling. The recording is done online and the final product will be played off during the online session as if it were life.
Since all conferencing tools have certain peculiarities and some even annoying technical limitations when you want to show a video, familiarize yourself with those early on. This applies to looking at the specifications that the video itself must have and also to how the airing can be managed during the event, so the workflow on the day. Usually, it makes sense to back the moderator up with a virtual control room, staffed at least with one person concentrating on nothing else.
So much for the organization around the input. This article focuses on the input.
Let’s have a look at what a typical input giver needs to know. In most cases, there’s not too much scripting or video editing of the footage budgeted for, basically just the technical recording facilitated by someone like me on the other end of the internet line and a slight touch-up done with a video editing software.
What do you need to know or do
- Ask the organizers to give you an exact time for how long they want the final product to be. Many presenters resist this but it’s actually much better to work with an exact timeframe
- Follow the instructions given to you, all of them. Don’t try to get around them
- Rehearse in front of your laptop before the recording session — including looking straight into the camera and especially time management
- Remember, if your presentation is longer than your slot, the editor will make it fit in post-production. You might not want the video editor to decide on which parts get cut out
- Often briefer inputs to webinars are expected to be without using PowerPoint because it gives a certain look & feel that the organizers want to avoid. But you might be allowed to use a couple of images or graphs or other visuals. This will help the editor doing his or her job and it’ll look more appealing. Discuss with him/her which materials would suit best
- Discuss also the content and flow with the video editor. Remember the format has an impact on the content nowadays. A good video editor is not just a cutter. You’re likely to receive feedback that goes beyond the mere technical presenting part. I heard from input givers in the pre-recording sessions or dry runs: “I wish we’d spoken earlier. Now, I’m running out of time to make these structural changes. They make good sense to me.”
- As a follow-on to this, remember to consider which value you provide to your listeners. Presenting just information is usually not cracking it. Usually, it’s best to focus on one of their problems and provide solutions — while you keep going back to the problem. … or at least use this as a hook to get your message across.
Technical bits
For the recording session, make sure you are equipped with the following:
- Stable internet connectivity (a LAN cable connection is preferable to Wifi) — but don’t worry too much about it. This is a pre-recording and can be redone until everything works out
- A computer with a webcam (or a smartphone) and Skype, MS Teams or Zoom readily installed — or basically any other conferencing technology
- Mobile phone with camera for back-up. Sometimes the phone is newer than your computer which usually helps with the conferencing software
- Voice recorder app (please check, both Android and iOS phones have voice-recording apps preinstalled). This is used to separately record your voice on your phone. Ideally, I record both visual and sound with the online tool but then in post-production, I replace the sound with the sound recorded on the phone because it’s of better quality.
Before the session, it’s usually better to do a dry run for the technical bits. That gives you time to concentrate more on the content and speaking during the actual recording session. To save some time, it’s good to have these things ready:
- Your full name, title, company etc. and your Skype ID or whatever online tool you’re using
- 3-5 pictures (no more) that relate to the core of your input and that can be edited into your video. Ideally, you focus on aspects that can be both visualized well and that are most critical to the point you’re aiming to make. Each picture needs to be accompanied with a caption, which states what is shown in the picture, how it “works” and ideally, why it is important. (NB: To avoid copyright issues it is better to use your own images. Definitely discuss this with the editor)
- Title for your input and a short description (ideally in a single sentence). Have a look at popular YouTube videos. Clearly, a catchier title is better than a descriptive one and in terms of “sales tactic” it’s good to focus on stating a problem you solve – both for how you write your title as well as how you frame your input. Again: Always stay on the problem. This needs to be hammered in!! 🔨


Leave A Comment